

Made to Order Merch: A No-Inventory Path to Selling Products
The fastest way to sell branded or pop-culture merchandise without spending money upfront is made-to-order production, better known as print-on-demand. A supplier prints each item only after a customer buys it, so you never hold stock, never guess wrong on sizes, and never eat the cost of unsold hoodies. Start today with one action: order a physical sample of a single design, check it against a real quality checklist, then list that one SKU in your store.
- Order one sample of your top design before listing it publicly
- Add a single SKU to your store or marketplace to test real demand
- Note the supplier’s stated turnaround time so you can set honest shipping expectations
- Skip warehousing entirely; let the order → print → ship cycle carry the risk
TL;DR:
- Ordering one sample per design and size ensures print quality and fabric match before scaling up sales.
- Matching printing methods to design types, such as DTG for photographs or embroidery for logos, optimizes product durability and appearance.
- Proper file preparation, including exporting vector logos and high-resolution PNGs, prevents costly reprints and design errors.
- Setting realistic turnaround times and aligning return policies with supplier conditions protects margins and enhances customer satisfaction.
- Starting with small inventory and testing demand through small ads minimizes risk before committing to larger orders or website listings.
Table of Contents
- What Is Made to Order Merch and How Does the Workflow Work?
- Which Products and Printing Methods Sell Best?
- How Do You Prepare Design Files for Printing?
- What Are Typical Turnaround Times and Return Policies?
- How Do You Price Made-to-Order Merch for Profit?
- How Do You Publish and Test a New Merch Design?
- How Do You Judge Sample Quality Before Scaling a Design?
- Want a Ready Example of Made-to-Order Merch Done Right?
- Key Takeaways
- Sources
What Is Made to Order Merch and How Does the Workflow Work?
Made-to-order merch means nothing gets printed until someone actually buys it. Print-on-demand produces items only after an order is placed, which is why sellers can list dozens of designs without ever touching inventory or a credit card bill for bulk stock.
The workflow runs in four predictable steps:
- A customer orders a product from your storefront.
- The order routes automatically to your printing partner.
- The item gets printed, packed, and labeled with your branding.
- The package ships directly to the customer, often with no mention of a third party involved.
Your printing partner typically handles packaging and white-label shipping, so the customer never sees another company’s name on the box. Returns and defect claims usually route through you first, then back to the supplier under their policy. Bulk or in-house printing still makes sense once a design proves itself and you’re ordering hundreds of units at a time. Below that volume, made-to-order almost always wins on cost and flexibility.
Which Products and Printing Methods Sell Best?
Not every product deserves the same printing method, and picking wrong shows up fast in fabric quality or color accuracy. Apparel, especially t-shirts, consistently ranks as the top-selling POD category, followed by hoodies, mugs, posters, and stickers. Hoodies carry higher margins per unit; a buyer’s guide to printed hoodies breaks down fit and fabric weight if you’re deciding what to stock first.
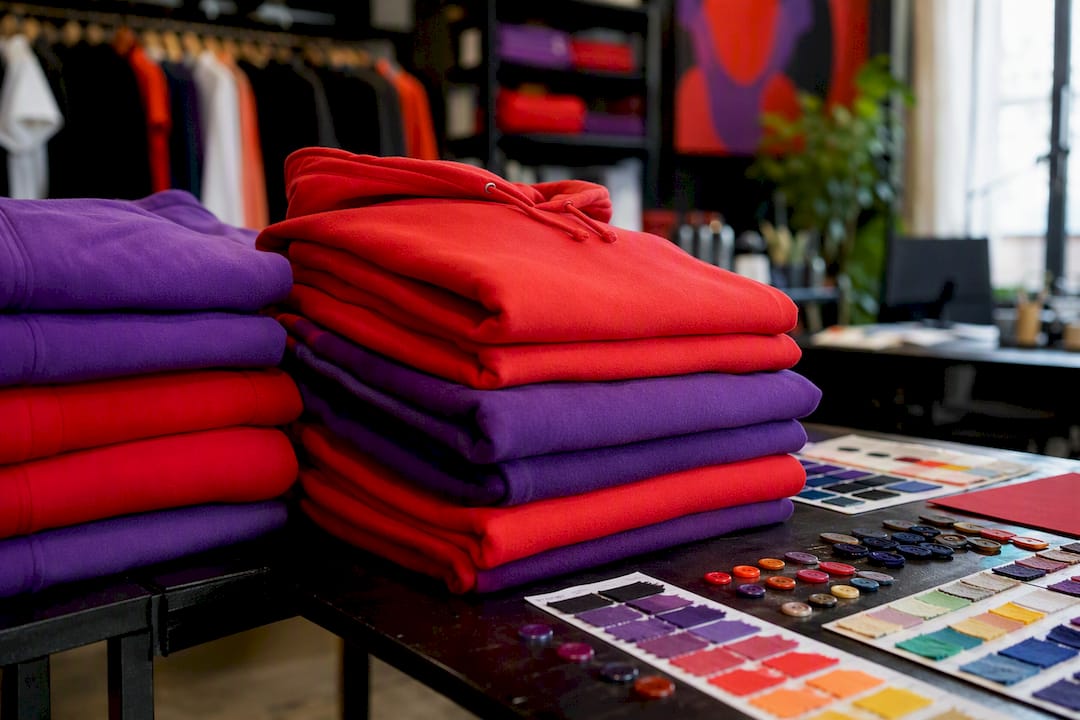
Pro Tip: Match the printing method to the art, not the other way around. A photographic anime portrait needs DTG’s color range; a two-color logo looks sharper and lasts longer with embroidery.
Match your printing method to the design:
- DTG (direct-to-garment): best for full-color, photographic, or gradient-heavy designs on cotton tees.
- Sublimation: ideal for all-over prints and drinkware, since the ink bonds into polyester or coated surfaces rather than sitting on top.
- Embroidery: the right call for logos, small text, and anything that needs to survive repeated washing without fading.
- Screen printing: still the cheapest per unit once you’re ordering hundreds of the same design.
Digital textile printing like DTG skips the per-color screen setup that traditional screen printing requires, which is exactly why single-item production became commercially viable in the first place. Fabric blank quality also matters more than most new sellers expect. A 100% ring-spun cotton tee feels and prints differently than a cotton-poly blend, and sustainability-focused blanks (organic cotton, recycled poly) usually carry a few dollars more in base cost. That difference shows up in your margin math later.
How Do You Prepare Design Files for Printing?
Most bad prints trace back to bad files, not bad printers. High-resolution artwork and correct file optimization are essential for print quality, and skipping this step wastes both money and time on a sample that never should have shipped.
Before you upload anything, run through this checklist:
- Export logos and text as vector files (SVG or AI) so edges stay crisp at any size.
- Use layered, high-resolution PNGs for detailed or painted artwork, minimum 300 DPI at print size.
- Set your file to CMYK or the specific color profile your provider requests. RGB files often print duller or shift color.
- Follow the provider’s bleed and placement template exactly. Placement errors are one of the most common reasons for reprint requests.
Deliver vector art for logos and layered PNGs for complex illustrations, and always export using the supplier’s own template rather than a generic size guide. Nicholas, who oversees quality control at Mclarenteehub, recommends ordering the same design across two or three sizes before publishing it, then photographing each sample under identical lighting so mockups match what actually arrives.
What Are Typical Turnaround Times and Return Policies?
Production time varies by product category and, predictably, spikes around the holidays. Apparel usually takes a few business days to print before it even ships; drinkware and posters often move faster since there’s less prep involved. Expect production windows to stretch during November and December as suppliers process higher order volumes.
- Standard apparel: several business days for production, plus standard shipping time.
- Drinkware and flat items: typically faster production due to simpler print setup.
- Seasonal peaks: build in extra buffer time for orders placed close to major holidays.
Dropshipping, where each order ships individually straight to the customer, costs more per unit in shipping but requires zero warehousing. Batch shipping, ordering a bundle to your own address first, cuts per-unit shipping cost but means you’re storing and reshipping stock yourself. Set your return policy around your supplier’s actual defect and refund terms rather than a generic template. A clear return policy protects your margin while still giving customers a fair path to a refund on genuine printing defects.
How Do You Price Made-to-Order Merch for Profit?
Pricing starts with three numbers: base product cost, shipping cost, and platform fees. Add those together, then apply your markup.
- Calculate your total cost: base blank price plus per-unit printing plus shipping to the customer.
- Add a markup, commonly in the 40% to 60% range for apparel, adjusted for your niche and design uniqueness.
- Compare that final price against competitor listings for similar designs before publishing.
A t-shirt with a $12 base cost, $2 shipping, and a 50% markup lands around $21 to the customer, leaving roughly $7 in profit after fees. Bulk orders lower your per-unit base cost, but only pay off once a design has proven demand through made-to-order sales first. Test small, then scale into inventory once the numbers justify it.
How Do You Publish and Test a New Merch Design?
Getting a design live takes less effort than most first-time sellers expect. Connecting a POD app to your store lets orders route automatically to your supplier for printing and fulfillment, cutting out manual order entry entirely.
- Connect your printing partner to your ecommerce platform or list directly on a marketplace.
- Publish one SKU with real product photos, accurate sizing charts, and every color or size variant you’re offering.
- Order a sample, confirm it matches your mockup, then run a small paid ad or social post to gauge actual demand before adding more designs.
For sellers weighing where else to list beyond their own store, a rundown of POD marketplace alternatives covers platform-specific pros and cons worth knowing before you commit to one.
How Do You Judge Sample Quality Before Scaling a Design?
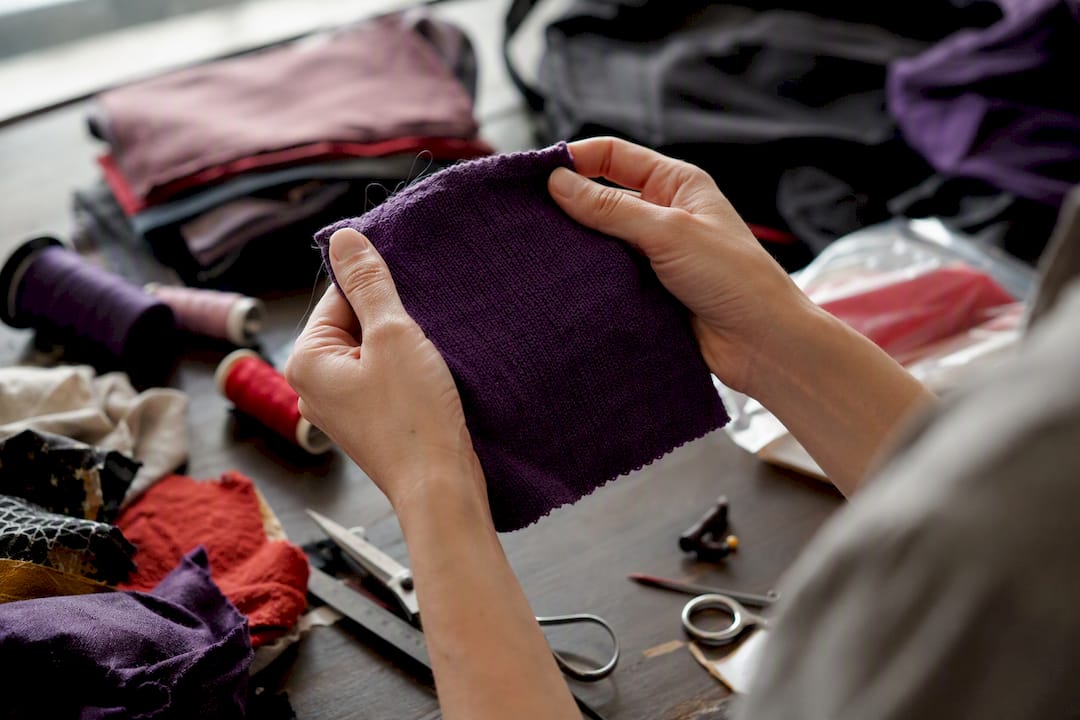
A sample order tells you more than any spec sheet. Inspecting print opacity, placement, seam quality, and fabric hand is the most reliable way to qualify a supplier before committing to a full product line.
Run every sample through the same checklist:
- Fabric hand: does it feel like the blank you ordered, or thinner and rougher?
- Seam quality: check double-stitched hems and sleeve joints for loose threads.
- Print opacity: dark ink on dark fabric is the fastest way to spot a weak print.
- Color accuracy: compare the physical item against your original file, not just your screen.
- Placement precision: measure from the collar, not just eyeballing it.
Pro Tip: Keep a defect log with photos for every sample. One crooked print might be a fluke; three in a row from the same supplier is a pattern worth escalating.
A short sample-policy for sellers: order one sample per SKU and size you plan to list, inspect and photograph it, then keep a defect log to discuss with the supplier before scaling.
Minor color drift or slightly loose thread are usually fixable through a reprint request. Consistent misalignment or fabric that doesn’t match the listing description is a dealbreaker worth switching suppliers over.
Why Mclarenteehub bets on made-to-order for pop-culture merch
Testing a design before committing real money just makes sense for fan art and parody tributes, where trends shift fast. Sample feedback, not guesswork, decides which designs make it to a permanent listing.
— Nicholas
Want a Ready Example of Made-to-Order Merch Done Right?
If you want to see this workflow already in motion rather than build it from scratch, Mclarenteehub runs its entire pop-culture catalog on made-to-order production, no exceptions. Every hoodie, mug, and tee featuring original fan art or parody tributes gets printed only after someone orders it, which is the same low-risk model this article just walked through.
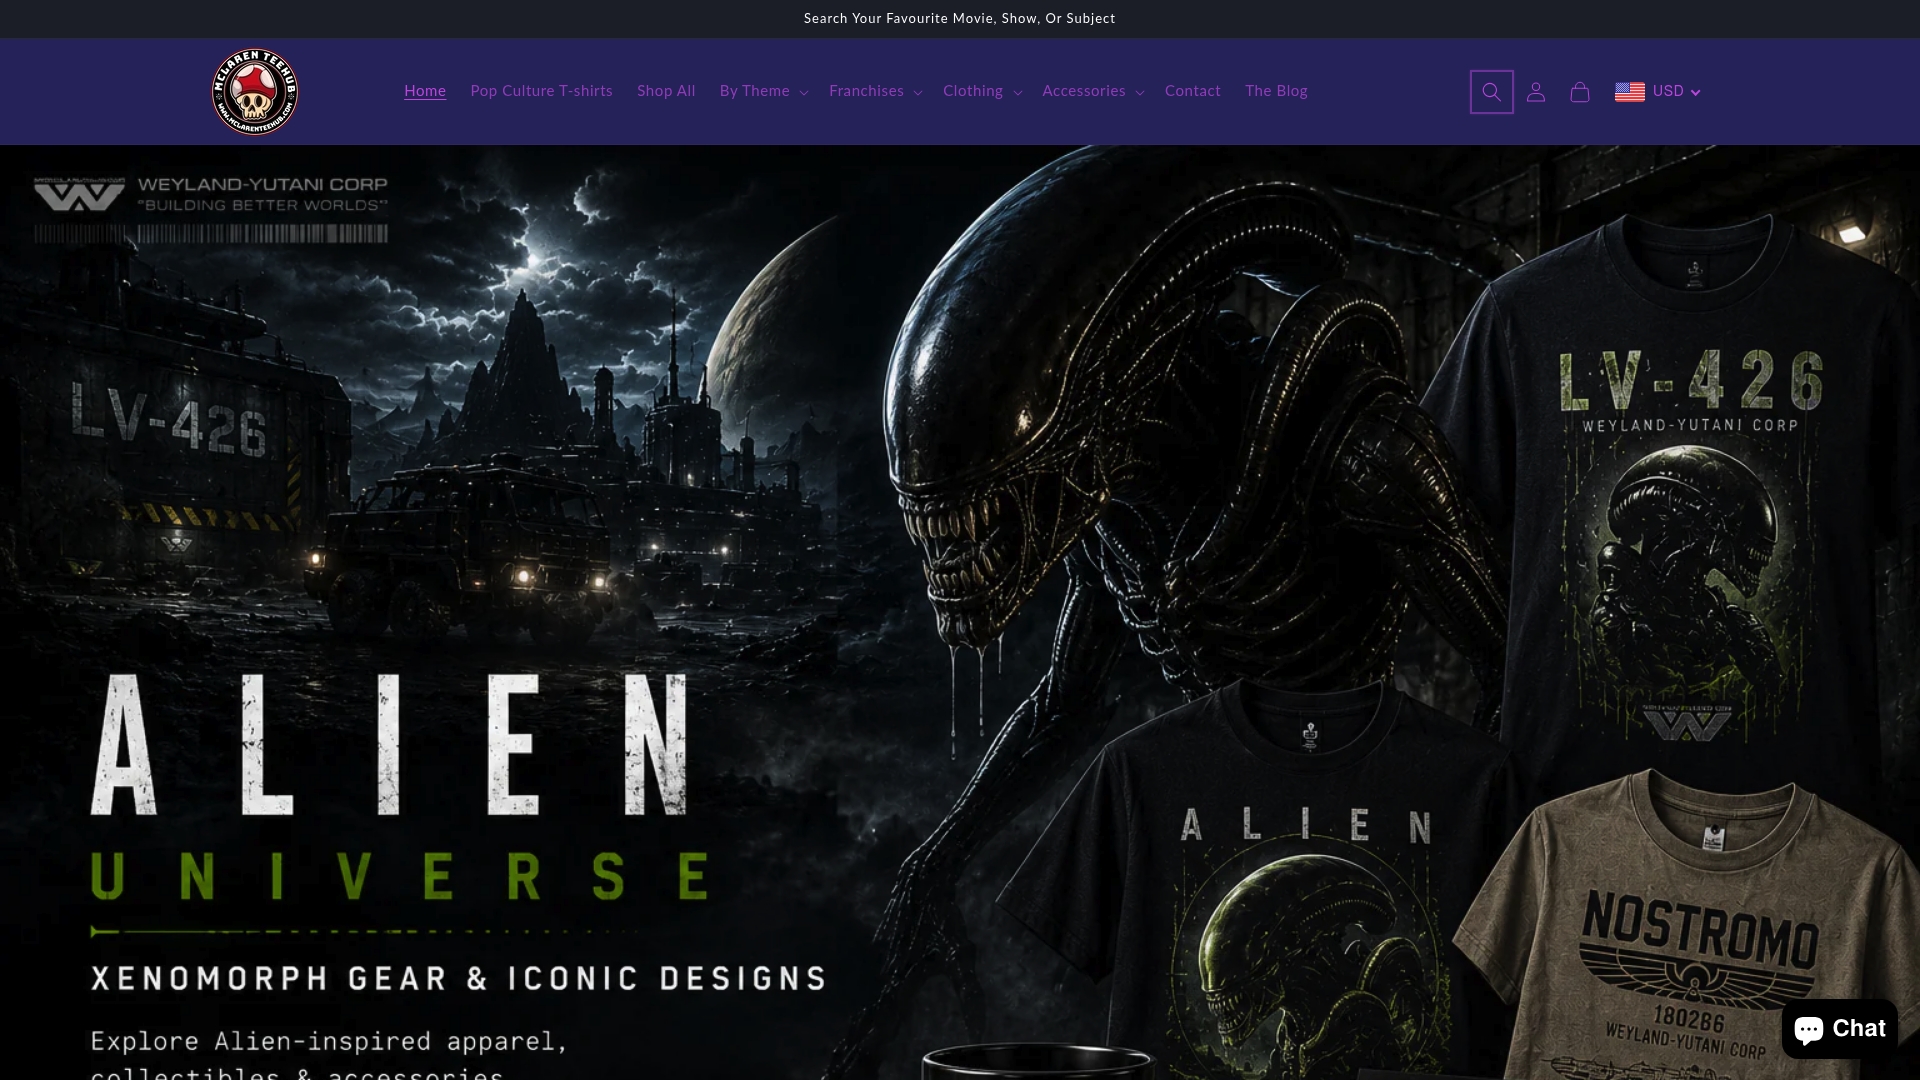
Take a look at a piece like the Pulp Fiction style graphic tee or the Facehugger coffee mug to see how DTG and sublimation hold up on real products, not just mockups. Every listing goes through the same sample check outlined above before it stays live. Order one to see the print quality firsthand, or browse the full catalog at Mclarenteehub to find a design worth testing in your own store next.
Key Takeaways
Made-to-order production works because it shifts print risk to the moment of sale, letting sellers test unlimited designs without ever paying for stock upfront.
| Point | Details |
|---|---|
| Start with one sample | Order a physical sample before listing any design publicly to catch print or fit issues. |
| Match method to design | Use DTG for photographic art, sublimation for all-over prints, and embroidery for logos. |
| Prepare files correctly | Export vector logos and 300 DPI PNGs, and follow the supplier’s own placement template. |
| Price with real math | Add base cost, shipping, and fees, then apply a 40% to 60% markup before publishing. |
| See it in practice | Mclarenteehub runs its full pop-culture apparel and mug catalog on made-to-order production. |
Sources
- Print on Demand: What It Is & How To Start (2026) - Shopify
- How to prepare your files for print-on-demand art prints - StationeryHQ